(Recovered from my old article - originally posted on 2017.03.14 10:32 KST)
(Note: This is English version. If you want to see Korean version, please visit http://ko.sdndev.net/11.)
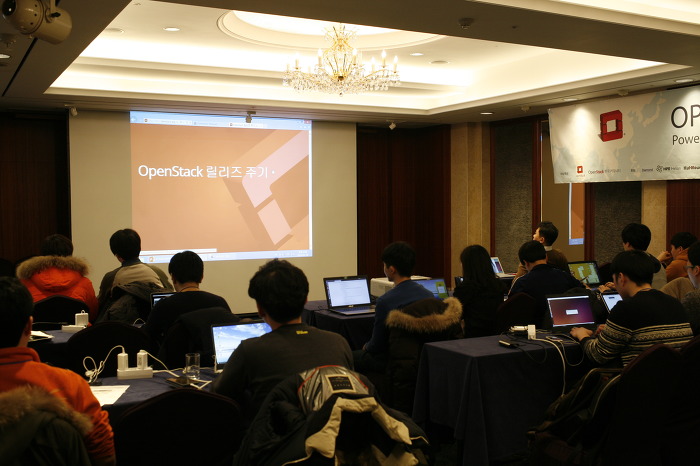
There were a second OpenStack upstream training in Korea from 10 AM to 5AM on February 11th, 2017.
OpenStack Days Korea 2017 will be held on the middle of July, not February held in the last year, so I organized the second upstream training much longer (morning session and afternoon session) than the first training (only three hours). More details on the second upstream training are available at: http://openstack-kr.github.io/upstream-training/2017/ .
Also, I organized a local study program whose goals are to learn upstream training materials and help the second upstream training on last November. Around twenty members started to participate in the study program, and about 10 members finally agreed to help the second upstream training program as mentors. Thanks to them, I feel that the second upstream training was so successful :)
(Study content: https://github.com/openstack-kr/openstack-study/tree/master/2016-fall-upstream )
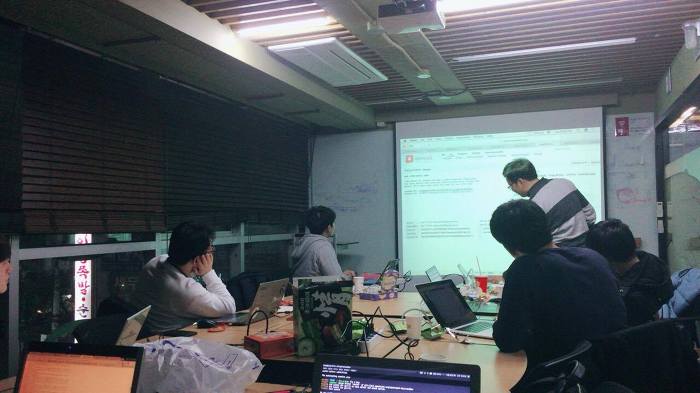
- Studying upstream training materials #1 -

- Studying upstream training materials #2 -
In Korea, Toz (URL: http://www.toz.co.kr/index.htm) is the place where meeting rooms are provided for various events such as seminars, small meetups, and studyings, and I have been using Toz with the kind support from Naver D2. However, when I considered the place for second upstream training, I finally concluded that Toz would not be the best place for doing hands-on-labs, discussing with upstream topics, and mentoring activities. Fortunately, Naver D2 agreed with the situation, and decided to provide D2 Startup Factory which is very large! It accommodates max. of 150 attendees :) Moreover, Ubuntu Korea Community has joined with the organization of the second upstream training with Launchpad (https://launchpad.net/ ) content.
However.. it was just the four days before the actual upstream training. At that time, there were the final studying meetup and attendees were discussing the preparation of the actual upstream training. We finally figured out that there would be less number of power plugs in D2 Startup Factory! We actually need about 40 power plugs for attendees and mentors. It implies that we need to find out multi strips for many number of power plugs. D2 Startup Factory did not have enough multi strips. Fortunately, I have finally found two institutions who kindly agreed to lend multi strips.
1. NAIM Networks (http://www.naimnetworks.com/)
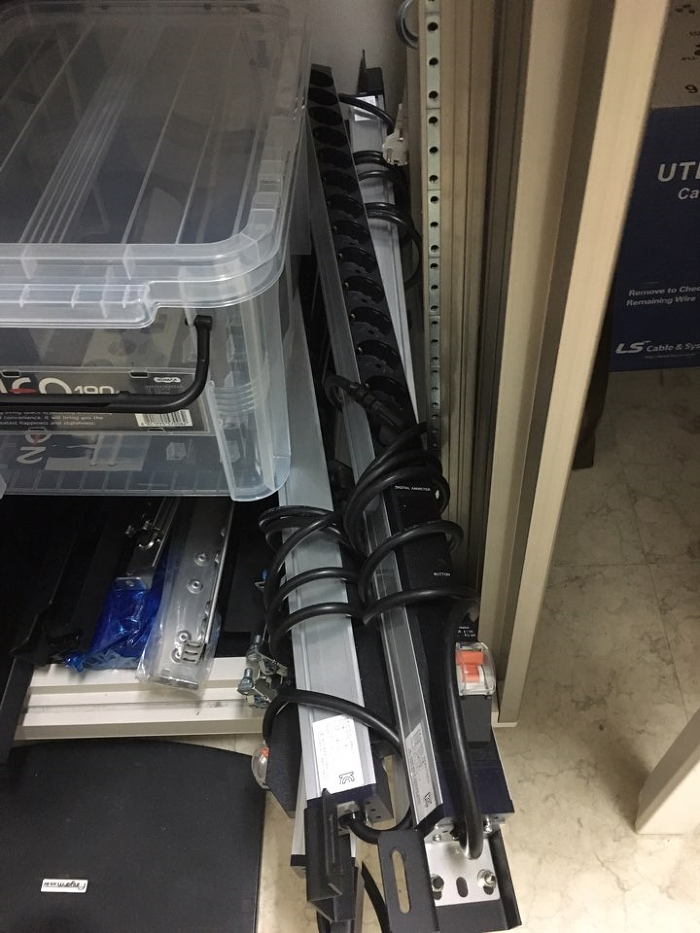
This is the company where I worked from Oct 2013 to Aug 2014. Since the company also provides SDN trainings, I thought that the company might have the spare multi strips if there will be no training activities on the same days as the second upstream training. I asked to my previous colleague and team manager, and they said to me that some spare multi strips for server racks would be available! They finally agreed to provide three 14-multi strips :)
- Multi strips with 14 sockets! (Thanks to NAIM Networks, Korea) -
2. MODU Labs (http://modulabs.co.kr/)
[TBD - to be translated later, sorry]
2015년 초, 인공지능 스터디를 참여하였던 적이 있는데 그 때 현재 모두의연구소 소장님이신 김승일 님을 알게 되었다. 연구소 취지가 좋다고 생각하여, 시간이 허락될 때 스터디 하나를 직접 참가하고 싶은 마음이 크지만, 현실적으로 오픈스택을 보면서 모두의 연구소에서 하는 부분까지 살펴보는 건 참으로 쉽지 않은 것 같다. 소장님께서도 외부 교육 등을 많이 진행하시기에 물어보았으며, 금요일 오전에 연락되어 소장님께선 연구소에 안 계시지만 다른 분의 도움을 받아 힘들게 멀티탭 6구를 여러 개 대여할 수 있었다.
이러한 준비 + 많은 분들의 도움 덕택에 이번 2회 업스트림 트레이닝은 지난 번 1회때보다 구체적인 목표를 갖고
여러 질문 & 답변과 함께 재미있는 시간을 보낼 수 있었다고 생각한다.
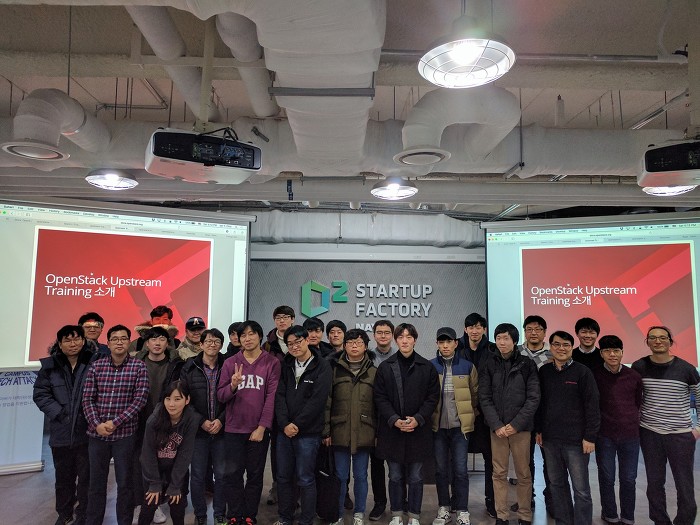
- 제2회 업스트림 트레이닝 행사 끝나고 단체 사진 -
- 실습 중 -
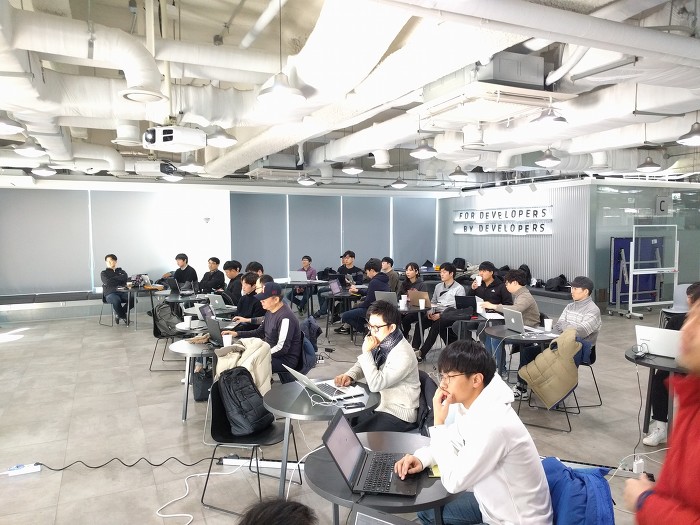
- Etherpad를 사용한 설명 중 -

- 쉬는 시간이지만 토의중 -
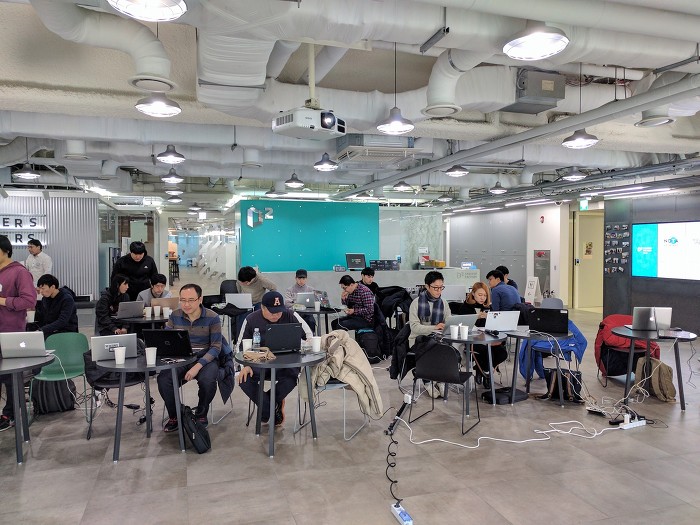
- 즐거운 토론 중 -

다음 업스트림 트레이닝 행사도 잘 진행되면 좋을 것 같은데.. D2의 도움도 계속 필요할 것 같고
무엇보다 여러 멘토 분들과 함께하였지만 사실 혼자 Full로 진행하기에는 다소 지치는 측면도 있어..
보다 많은 한국 분들께서 오픈스택 업스트림에 기여하시고, 그 경험을 바탕으로 같이 즐겁게 차후 행사를 할 수 있으면 정말 좋을 것 같다는 생각을 해본다.
'OpenStack' 카테고리의 다른 글
| First OpenStack Upstream Training in Korea in Feb 2016 (0) | 2024.03.10 |
|---|---|
| One Azure Use-case & Comparison with OpenStack Dashboard (0) | 2024.03.10 |
| OpenStack Korea study meetup: Jan 29, 2016, Fri. (0) | 2024.03.10 |
| Midostack: OpenStack + MidoNet installation (0) | 2024.03.10 |
| DevStack installation: Icehouse Release (Single node, Neutron) (0) | 2024.03.09 |